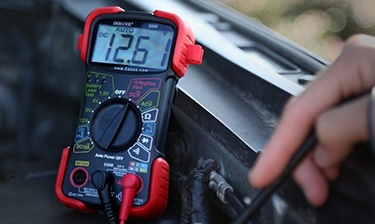
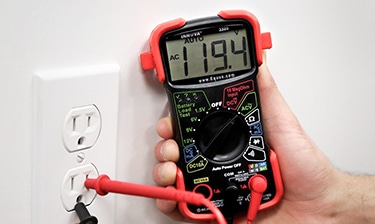
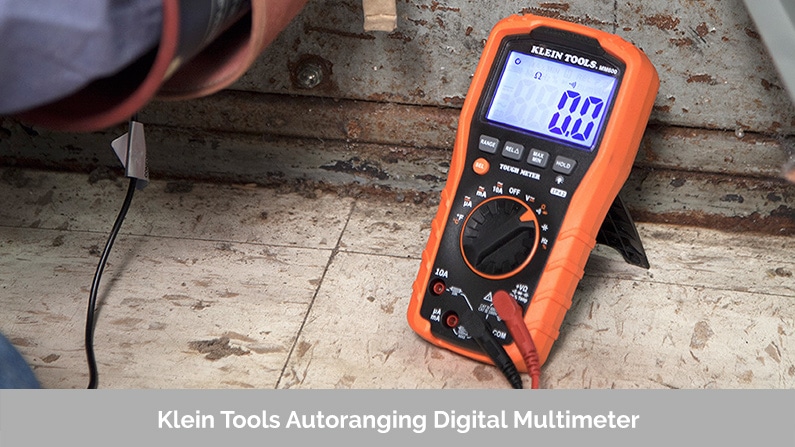
More and more people are investing in autoranging digital multimeters for the simple fact that they can help with measuring resistance and voltage in an easy way. An autorange device allows you to use the multimeter without needing to manual adjust the knobs or dials on your device.
Of course, although these types of multimeters are considered to be more basic than their advanced counterparts, they are still great pieces of equipment that every handyman from professional to amateur will want to get their hands on.

That’s why we’ve created this new Tool Nerds review to help you learn not only how to use an autoranging digital multimeter, but how to understand its many advantages as well. While there are pros and cons to the different types of multimeters available, it is essential to understand why this type of multimeter in particular has given a wider range of benefits to a larger group of people.
What are the Advantages of an Autoranging Digital Multimeter?
No matter what kind of multimeter you own, you are sure to find a lot of value in it. One of the biggest values this kind of meter can give you is the advantage of saving time.
An autoranging digital multimeter can automatically detect:

● Voltage.
● Capacitance.
● Resistance.
● Wattage.
● Imbalances.
● And many other electrical components!
You also don’t have a need for a ranging tool. The autoranging aspect of the digital multimeter will automatically find the range that your electrical component has fallen under. With a manually-adjusting multimeter, you would have to find that electrical range all on your own.
Many of our top-recommended autoranging multimeter brands, such as the INNOVIA 3320 or the Klein Tools Auto-Ranging Meter, come with the preset ranges already built in, so you don’t have to spend the time to search for them.
Measuring a Resistor
As an example, let’s say you need to use your multimeter on an electrical resistor. Do you know the color codes on this resistor? Do you know which component you are measuring for?
Most of the time, the answer is “no”. And that’s okay! That’s why autoranging digital multimeters exist, to help you find that range and decipher that code when you’re stuck in a rut. Without the color code of the resistor, it would be impossible for you to be able to determine the rate of resistance it gives off – and that’s one of the many ways an autoranging tool comes in handy.
Let’s take this example one step further and say that the resistor would output a resistance readout of 20MΩ ±5%. Without knowing the range, you may be starting to measure the resistor anywhere from 0Ω-200Ω all the way up to the highest range, which is 2MΩ-20MΩ and the correct range for our example. The ohmmeter would have to be switched 5 times before you found the accurate result.
With a digital multimeter, however, you can simply switch your notch to a resistance reading setting, which will automatically find the color code associated with your resistor and provide lightning-fast readings. This saves a lot of time and hassle!
A Great Tool for Beginners

You can save yourself the stress of having to become quickly proficient at reading resistor color codes and understanding electrical components when you have an autoranging tool. Instead of having to switch from range to range in order to find the value of an electrical component, you can have this advanced machine do the work for you, which saves time and makes your job as an electrician much more efficient.
Yes, autoranging multimeters are often more expensive than other types of digital multimeters, as well as manual multimeters. However, as you can see from the examples above, they are well worth their weight in gold.
Even if you can read color codes easily and you have a knack for electrical lingo, it’s not a bad idea to get ahold of one of these. While they aren’t an essential part of your performance as an electrician by any means, they can be a great way to offer a quick solution when you’re dealing with a huge project.
What are the Components of an Autoranging Multimeter?

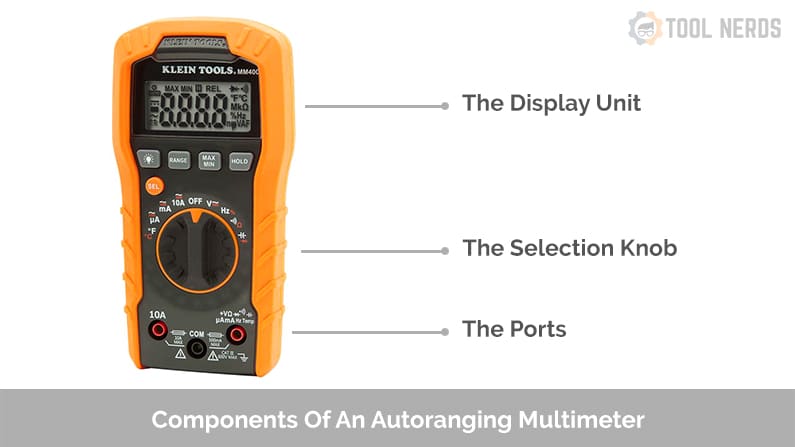
Autoranging multimeters are often built the same way as many other digital multimeters, with the advantages built into the electrical parts. A breakdown of the basic components of this type of meter are as follows:
The Display Unit
The display unit gives a digital multimeter its namesake. It usually displays up to four digits at a time, and can also display a negative sign during certain types of readings. It is a simple display screen, much like that of a calculator, although more advanced brands may come with illuminated backlighting and multi-functional displays for better viewing and understanding.
The Selection Knob
The selection knob is where the magic happens. This is where you can set your autoranging multimeter to read different things, like resistance and voltage. While your autoranging meter can detect these readings automatically, you still need to set them to the correct reading type in order to get them to work.
The Ports
The ports are the most technically-advanced part of the multimeter. You will plug two probes into the ports. The two ports are classified as COM, which means “common”, and 10A, which is a specialty port. The COM probe is a black unit that is always connected to a grounding part of the circuit. This is a necessary step to stabilizing your equipment and your electrical work.
The 10A port is used to measure currents larger than 200mA. Keep in mind that any kind of port with a banana plug will be compatible with your digital multimeter. This means that your autoranging multimeter can take over 10 types of probes!
Some of the most common types of probes available for autoranging multimeters include:
- Banana to Tweezers
- Banana to Test Probes
- Banana to Alligator Clips
- Banana to IC Hook
How to Use Your Autoranging Digital Multimeter
Since we used resistance in our previous example, let’s take a look at how you would measure voltage with your autoranging digital multimeter. You first want to get your probes in the right place. You can achieve this by plugging your black probe into COM, and your other (red) probe into mAVΩ.
Oh, and you will likely want to have your multimeter set to DC, as most electronic devices and batteries use direct current, rather than alternating current. The red probe must then be connected to a positive terminal (+), while the black is connected to a grounding unit (-).
Use your selection knob to properly set your autoranging digital multimeter to measure “Voltage”. If it is still set on “Resistance”, it may not be able to make a reading and your device will appear to be not working. However, this can easily be fixed by adjusting the knob to the right setting.
Soon, you’ll be able to see an accurate reading on your digital display screen. Remember, it can display up to four numbers, as well as a negative sign (-) if your reading is in the negatives.
A Word on DC Circuits
We highly recommend that you stick to DC circuits when using your multimeter to measure voltage or resistance. While your digital multimeter may have the ability to measure AC (which is displayed as such: V~), AC currents themselves can be very dangerous. It may be best to pick up an AC tester if you are going to be working with a lot of AC units.
Just make sure to take it slow, and you’ll be able to take control of any situation. If this is your first time using an autoranging digital multimeter, you may want to brush up on your familiarity with the symbols and color codes. Of course, autorangers can do most of the work for you, so in most situations you needn’t worry.
Final Verdict
→ When autoranging digital multimeters were invented, it became much easier for beginners and amateurs to learn how to use multimeters. Analog multimeters are often overwhelming at first glance, with too many bells and whistles to learn too quickly.
→ The advent of digital multimeters was essential to the increased performance, efficiency, and knowledge of those who work with electricity on a daily or professional basis. However, the autoranging digital multimeter took it one step further.
→ Now, all you have to do is set your function.
→ Simply plug in your multimeter the correct way, as sampled above, and turn your knob to the correct setting. Are you reading voltage? Are you looking at different polarities? What about currents? There are several different types of readings you can do with your autoranging digital multimeter. At Tool Nerds, we are passionate about sharing this incredible find with you all. If you work in electricals at all, you’ll want to invest in this product. Whether you like to build circuits as a hobby, or you need to test car batteries and electrical components as part of your job, you can use an autoranging digital multimeter to achieve accurate results as quickly as possible.
The post How to Use an Autoranging Digital Multimeter appeared first on Tool Nerds.
from Tool Nerds http://ift.tt/2EjyAOI
via IFTTT
No comments:
Post a Comment