Before performing any kind of electric work, four different methods will be able to assist you in figuring out if a particular light box or an outlet has power running through it, and we’re going to take a closer look at each one of them.
If you, however, have any doubts about messing with the household current, don’t hesitate and give your electrician a call. Calling an electrician will require spending some cash, but the whole thing certainly won’t cost as much as a trip to an emergency room would.
Method #1 – The Working Light
This is the classic and the most straightforward method when it comes to testing for power. If there’s any electricity in the outlet, it will turn on the light.
There’s no particular reason why you wouldn’t use this method to test an outlet from time to time. But if you, however, plan to do some DIY electrical work, purchasing a voltage tester would be a wiser decision.
Method #2 – The Voltage Tester
It’s no wonder that many people see voltage testers as “lifesavers.” Unlike all other time-saving, helpful gadgets that we like call “lifesavers”, the voltage testers can literally save your life – they can prevent a serious injury or even death occurring from an accidental electric shock.
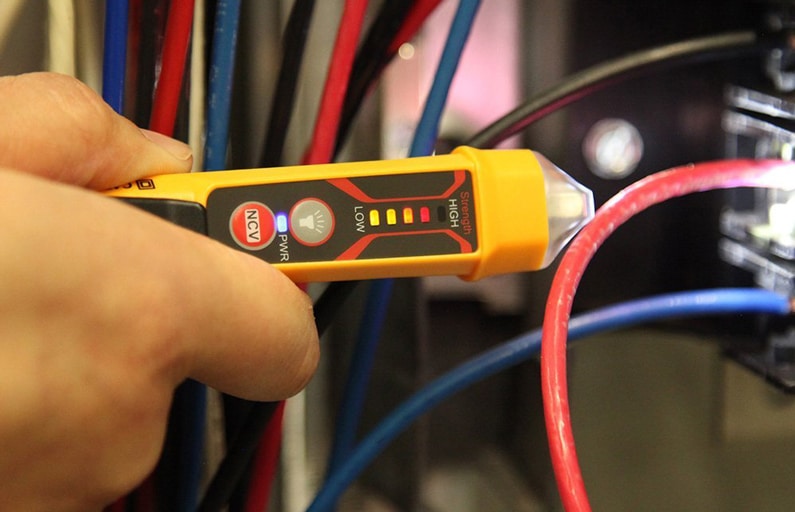
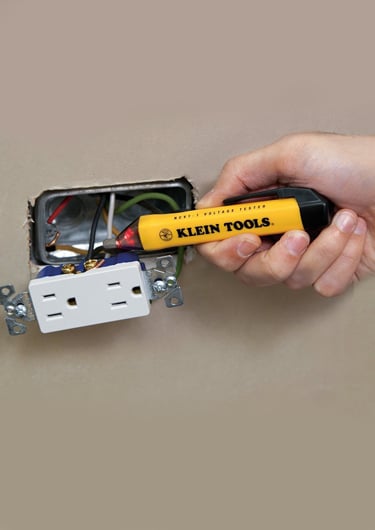
Cheap and reliable models, such as the Klein NCVT, are capable of detecting the current without getting into contact with an exposed wire. All that the user has to do is to carefully hover the gadget’s top part over the wire, and the device will produce a short, sharp sound with a quick flash of light in case there’s any current close to it.
However, the pen-style voltage-testers come with a significant downside – they are unable to identify the current when it comes to low-voltage devices, like the smaller home appliances and pathway lights, as these require the use of a multimeter.
Don’t confuse these gadgets with voltage meters – unlike the testers, these can indicate an accurate voltage of electricity. A voltage tester is something like an “on/off tool” – “Off” means that there’s no electricity, and “On” means that there is.
One thing we have to mention here is that if the batteries fail, it will look like there’s no current. For that matter, it’s of crucial importance to always test your voltage tester before using it.
Even if the batteries are of good quality, they can still provide false-negatives and false-positives. A false-positive is an occurrence in which the tester produces a sound, but there is no current. The false-negative is much more dangerous – it’s when there’s no beeping sound even though the current is flowing.

Method #3 – The Multimeter
As we said, a voltage tester is something of a straightforward “yes or no” gadget, as it can determine whether the current is highly powered or completely dead. Touching a low-voltage wire with the voltage tester will make the device register it as dead.
For the lower voltages, one has to use a digital multimeter. These are highly accurate devices that measure not only voltage, but also things like capacitance, continuity, frequency, temperature, and many other things. They are most commonly used by HVAC technicians and may be overkill for the beginners, although they can also help them learn a thing or two about electrics.
Method #4 – The UWB Device
The UWB (ultra-wide band radar) gadgets, such as the Bosch D-Tect aren’t really used for standard detection of live currents, like the ones we mentioned above.
However, a UWB device is the only tool that a non-professional individual can buy on the consumer market that can still detect live wires and cables situated behind the drywall. As the name suggests, they operate on a radar principle and remove the need to tear apart the drywall to detect the wires.
How to do it With a Voltage Tester
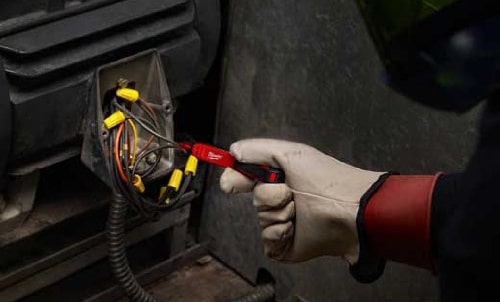
A voltage tester is perhaps the best tool for this job since it allows the user to avoid touching the bare wire.
- Step 1 – Testing the Voltage Tester
Before everything else, make sure to find an electrical receptacle that is 100% live (typically, that would be any receptacle powering a computer, TV, radio, etc.) and check both the bottom and the top sections of the outlet.
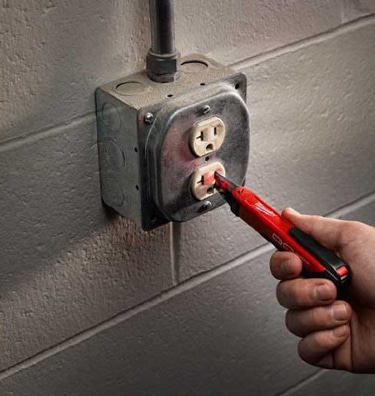
Do this by inserting the device’s top part into the slots. Depending on the brand, the gadget should beep, flash, or do both of these things if there’s a live current in the outlet. The reason because of which you have to do this is to make sure that your device is working correctly.
Dead batteries in your device could very well give you an impression that the outlet is safe to work with even if it actually isn’t.

- Step 2 – Testing the Desired Receptacle
Carefully insert the end of your tester into each slot of the receptacle. As we already said, a beep or a flashing light will tell you that there’s a live current in it.
Once you open the receptacle so that you can work on it, it would be a good idea to do one more test – check if there’s a live current in the wires inside the box. It’s an additional precaution and one we advise performing each and every time you’re testing an outlet.
If the wire casing is of the black color, that means that the wire inside is the carrier of the electrical load when it’s powered up. Make sure to check these black wires, as well as all other wires inside the box.

For that matter, it is of crucial importance to stay safe and always have the right tools for the job. In this article, we tried to cover the most reliable methods for live wire voltage testing and tell you how to perform them by yourself. We hope we’ve been helpful, and we wish you good luck!
The post Live Wire Voltage Testing – Safety Tips appeared first on Tool Nerds.
from Tool Nerds https://ift.tt/2L0K38B
via IFTTT
No comments:
Post a Comment